Thursday, June 30, 2016

Holiday Book Review : Gotthard (VGB)

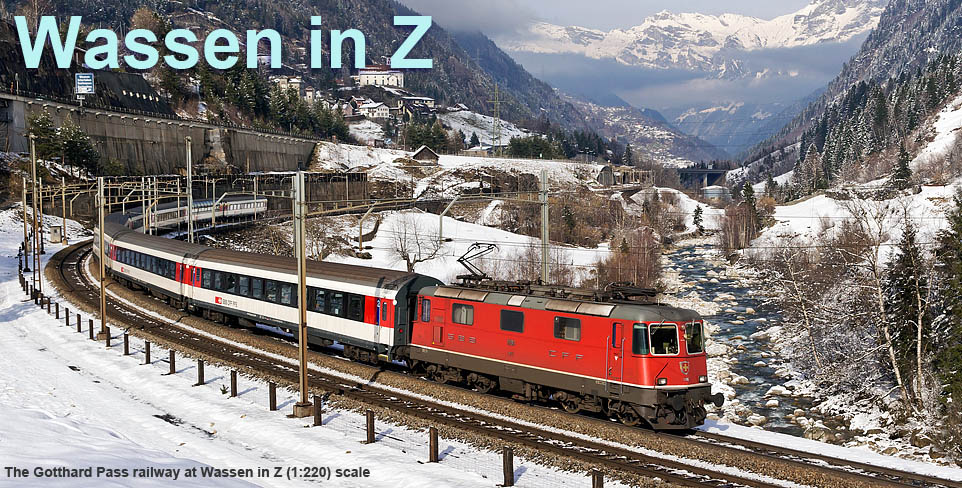
Gotthard: Queen of Alpine Railways

Since I'm on holiday too far away to be doing any more work on the layout for the next month, let me put in a plug for Klaus Eckert's "Gotthard" book, published by the good folks at VGB. 


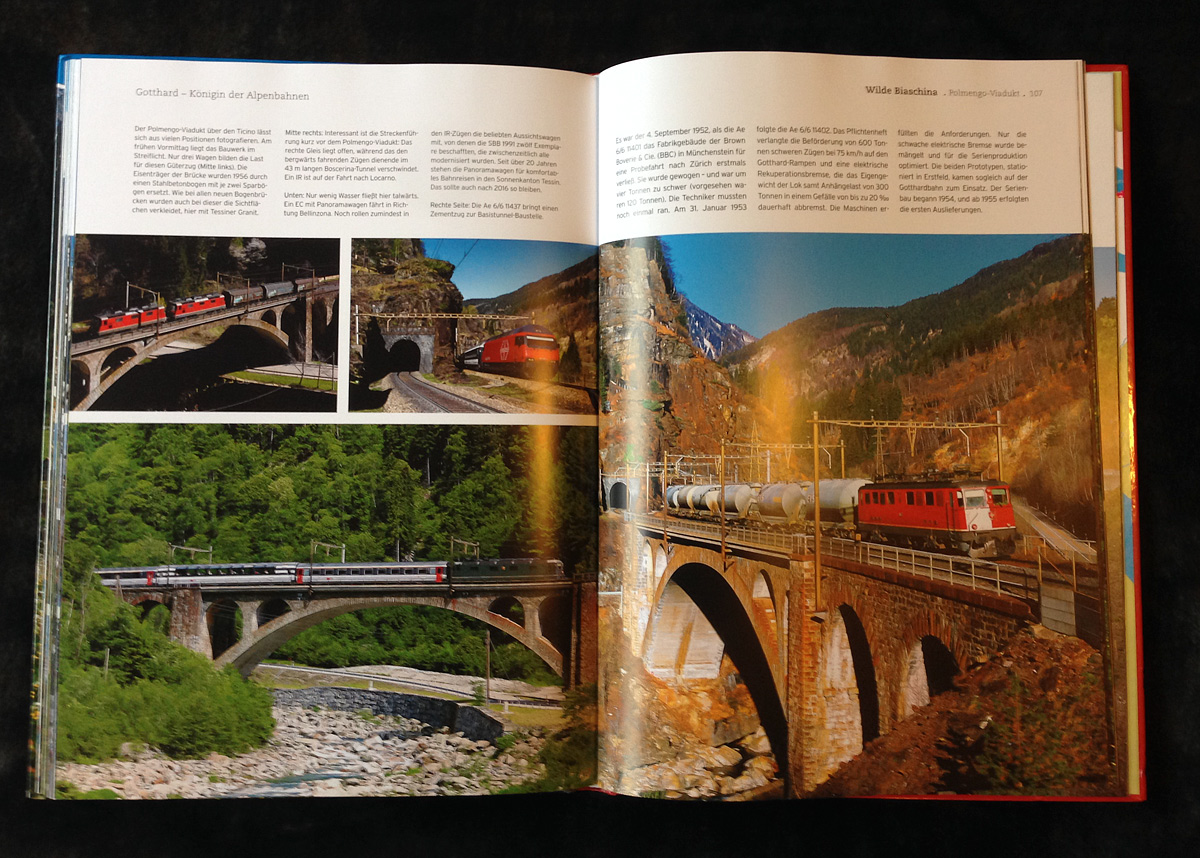
This is a wonderful collection of pictures, mostly taken in recent years, that cover both north and south sides of the Pass. 

The images themselves are absolutely superb. Well taken 'trains in the landscape shots' - nicely lit trains in great locations, well processed and well printed to show off the scenic majesty of the line. There is a small section covering the 'new' tunnel being built, another on preserved equipment, and a few shots sprinkled throughout that go back up to 20 years including green locos, the odd pair of snazzy Re460s on freights, and a few Ae 6/6s; but the book is heavily weighted toward pictures of trains in recent times. 

I would recommend English speaking readers of my book report buy this tome for its pictures rather than the information contained between its covers. There is a little text introducing each chapter, and it may be a wonderful read, but alas I don't speak or read more than a few words of German... Fortunately the chapters are laid out in a north-south order and decent maps and lists of bridges/tunnels etc are provided, so if you have a working knowledge of the German words for "under", "left", "middle" etc, and stare at the decently-detailed captions for long enough, you can get the gist of what's going on.

Or you can open the book randomly and let the visuals do the talking.


This hardcover book has 44 pages, contains around 250 colour pics on lovely big 24cm wide by 33cm tall pages. Available from VGB. If you're in the area, the Hotel Gerig at Wassen has a copy that you can dribble over while you have a refreshing apfelwein or coffee. After I'd done this, I just had to get my own copy. 

A stunning photographic record of the Gotthard in its final glory.

Sunday, June 26, 2016

Pre-Holiday Progress

I'll be traveling and thus away from my Z scale Mini-Me Wassen for most of July, but here's the latest progress. 

The first semi-permanent steps have been made down into the hidden yard and a temporary test section - which will be the third level traveling over the upper Meienreuss bridge and then past The Command Post - can be seen at the end of this vid.


Even though this train is a little slow out of the yard as I fiddle with controller and phone-camera without enough fingers and eyes, this 2:20 video somewhat surprisingly shows how much running time there is on a layout only 180cm long.

Wednesday, June 22, 2016

Testing 1,2,3...

Success!


Post this, the double track has been more properly attached and now extends right up to the top level. And the train still makes it.

Tuesday, June 21, 2016

Great Flextrack Battles: Peco vs Microtrains

I bought some MicroTrains Z flex track several years ago for a project that never got off the ground and never opened the box. I remember being surprised when it arrived as the lengths were quite short (12.5 inches, about 30cm) so I figured it might be a bit useless for its intended use.

So I bought some Peco for Wassen. If you've used their N scale stuff before this will be familiar in operation even though it comes in two-foot sections so is a little shorter than the N lengths.

MicroTrains (L) and Peco (R)
Looking at the track now that I've used them both, I guess the MT looks finer and more prototypical with its sleepers. The Peco looks like N track with the rails closer together. I'm not really expecting Z track to look too perfect when viewed up close.

Chunkadelic
Peco

I used the Peco first, working my way up from the base level to Wattinger curve, and across the middle Meienreuss viaduct. I like that the track is long so you don't need many joins which often put funny kinks in flex. The long lengths also flow nicely - you can pin the ends and let the track find a nice smooth curve.

It has trackpin holes cast into the sleepers, but they don't go right through from the bottom to the top. I guess this is to avoid unsightly holes in your sleepers. The downside is that you have to remember to punch these through with a pin or small drill from below before you start placing it down.

You need to buy rail joiners.

MicroTrains

The wee foot-long sections of MT track were deployed in the right hand spiral after the supply of Peco was exhausted.

Despite my concerns about these shorties, I was pleasantly surprised how good they were in this application. While the Peco sleepers don't grip the track tightly (so its springy, flexible and flows well),  the MT in contrast needs to be forced into shape with more effort, but it stays in shape once bent. This makes it quite good for tight curves as its not constantly trying to unwind itself back into a straight. I bent each piece into a fairly tight curve, chopped off excess rail length, soldered them up and then eased out the curve to the required radius.

The track has trackpin holes and comes with just enough rail joiners as long as you don't cut the track or lose any.


In Summary

Horses for courses - I prefer the MT in curves and like its look overall, but I do like the Peco is less tight applications for its length and springiness. The rails and rail joiners from both manufacturers seem to mate up ok.

Strangely, the MT sectional track has a gray plastic fake-ballast base, so using MT flex with it requires shimming. Same goes for using either with Rokuhan. I haven't used any Marklin track yet.

Peco - 24 inches long, lists at 110 USD for a box of 12. Seems to be available for about $13 NZD a section. Ironhorse hobbies had some in stock.

Microtrains - 12.5 inches long, 10 bits in a pack lists 55$ USD
Peco for smooth swirls, Microtrains for tight curls

Monday, June 20, 2016

Freestanding

I'm not sure whether Kevin McCloud of 'Grand Designs' would approve, but one of the things I've put in place at the 'right hand side' hidden spiral (the Leggistein Kehrtunnel with an extra loop included), is a form of cantilevered 'benchwork' supporting the track. This allows better access to the lower level yard than if I'd supported it on stilts in the traditional manner.


The first of these started out as a foamboard offcut that happened to have a nice curve in the underside, which has been replicated in the other arms.


As can be seen, the tracklaying department is slowly moving uphill after having taken some vacation last week.


And in other news, I seem to be able to get my train up this hill finally! Woohoo!

Tuesday, June 7, 2016

Bugger

So... I've soldered up some flex and pinned down a single level helix on the right side. This would gain me another 5cm of height between the middle and top levels of track if a train could climb it, which is seeming a bit unlikely given the tight radius. I tried to minimise the clearance needed between levels (for a loco with its pantograph up to pass under the upper level of track’s foamboard base) by using flex rather than sectional rack with its plastic ‘ballast’ base.

Judges , the envelope please…


Well, that pretty much proves that its not possible in this iteration.

I might be able to increase the ‘run’ of track - either by increasing radius or widening the circle into an oval without impeding the Meienreuss gorge - but I’m not sure how many cm of extra run that will give me.

I might also be able to reduce the vertical climb that I have built into my setup: 

  • By some miscalculation, I have 5mm of air above the panto that can be dispensed with immediately
  • I might be able to thin the track baseboard on the small segment that is directly over the lower track by replacing the foamboard with plasticard reinforced from above
  • The raised panto height is a bit high on the locos, and (I intended to fix this anyway) 
So if I can reduce the height by 12-15mm, and increase the run by 10cm, that might make enough of a difference to the grade such that can be surmounted

Monday, June 6, 2016

Reality used to be a friend of mine

The Sunshine pump: Salespeople will often become so caught up in a deal that they become blinkered to reality when everyone else in the room can see that it just aint gonna happen.

I've had a few days away from the layout but have laid more track following my first gradient experiments a few weeks ago. I like how the flextrack has been looking and thought I'd try running a  train today to see how it looked with something actually on it.

Somewhat surprisingly, despite the electrical effort clearly being expended, I couldn't lift my train out of the yard. Sure I was using some temporary track down in the yard, and some different wagons, but I was perturbed by the sight of two locos slipping to a standstill with a relatively short train.

Fearing the wagons were heavier and less free running, I put on the 'control train' from the last experiment - the 12 hopper cars. Same result.

It's possible that I cheated a little with the grades on the gentle curve leading up to Wattinger - as its not much of a curve I might have allowed it to get a little steeper, but the measurements didn't seem any steeper than the curved sections. It's also possible that the Peco Streamline track isn't as sticky as the Rokuhan curves - maybe the railhead profile or metal is different.


Whatever the reason, there's no point in having a layout that trains won't run on, so some time was spent today on a grade flattening exercise both on the lower level and on the middle level big Meienreuss bridge.

Sigh. Better now than later, and reasonably easily adjusted with the foamboard. Today cost me a few cm in grade separation between levels, so as you might note from the attachments, the semi-banished right hand hidden spiral between the middle and top levels is back under investigation...