Thursday, November 24, 2016

In Control

Time to tame the electrical demons.

The back of a control panel. Starting to drill some holes for block isolation switches:

These are DPDT center-off switches which will route power to a block (for example, the "Up Main"). The theory is that with the switch in the up position, power will be routed to the track from the "UP" controller, if down, from the "DOWN" controllers, and, as the name suggests, no connections are made when the switch is in the center position.

If I wasn't so impatient I would have something clever done with that front panel but can't wait now...

The input power buses starting to be connected with copper telephone wire:

Input plug from the two controllers connected to the busses behind:

Connected to the track sections tag board:

And tacked into place on the layout:


A few more wires to attach ...


Tuesday, November 22, 2016

Gettin it together

Five strips of Peco Z flex track arrived in the post a few days ago. They've sat neglected in the corner of the trainroom since, while periodic rituals involving pondering were performed.

I know I should complete the wiring and build a control panel, but today I accidentally glued a section of foamboard trackbed in place, so figured I might as well go to town while the ball was rolling. This is why I scored 55% in School Certificate English.

An hour or so later I'd managed to lay the double mainline up to the 'summit' and connect up one of the passing loops at its hidden station. The apex of the third level of track is where the uphill mainline loops around to become the down main while also providing (minimal) storage so that an uphill train which has just summitted doesn't have to immediately go back downhill again.

looking 'south' towards a non-existent Goschenen which would be a few miles beyond my summit sidings

Looking 'north' from the summit storage sidings and Wattinger

There's still plenty of feed-wiring and track soldering to be done before a train can finally loop around continuously up and down, round and round, ad-nauseam under its own power, and I do need to see if I can eek out the storage siding trackage at the summit from the few remaining centimetres of track and few fishplates I have left, but it does seem like a milestone has been reached

Half of the untested summit trackage foolishly glued in place

Monday, November 14, 2016

Organising a Rat's Nest - wiring tagboards

As someone who has been using DCC since 1995, it seems strange to be 'stepping back in time' to a DC powered layout.

As Wassen is a whimsical distraction that I've already spent more than enough money on, adding a bunch of Z decoders and fluffing about with all of that isn't likely to happen at this stage, if at all. Especially as this seems to be a pretty simple layout with just an 'Up' track and a 'Down' track and some storage sidings.

However to make that work involves electrically isolating the track into sections and powering only the ones that you want to actually run trains on at a particular point in time.

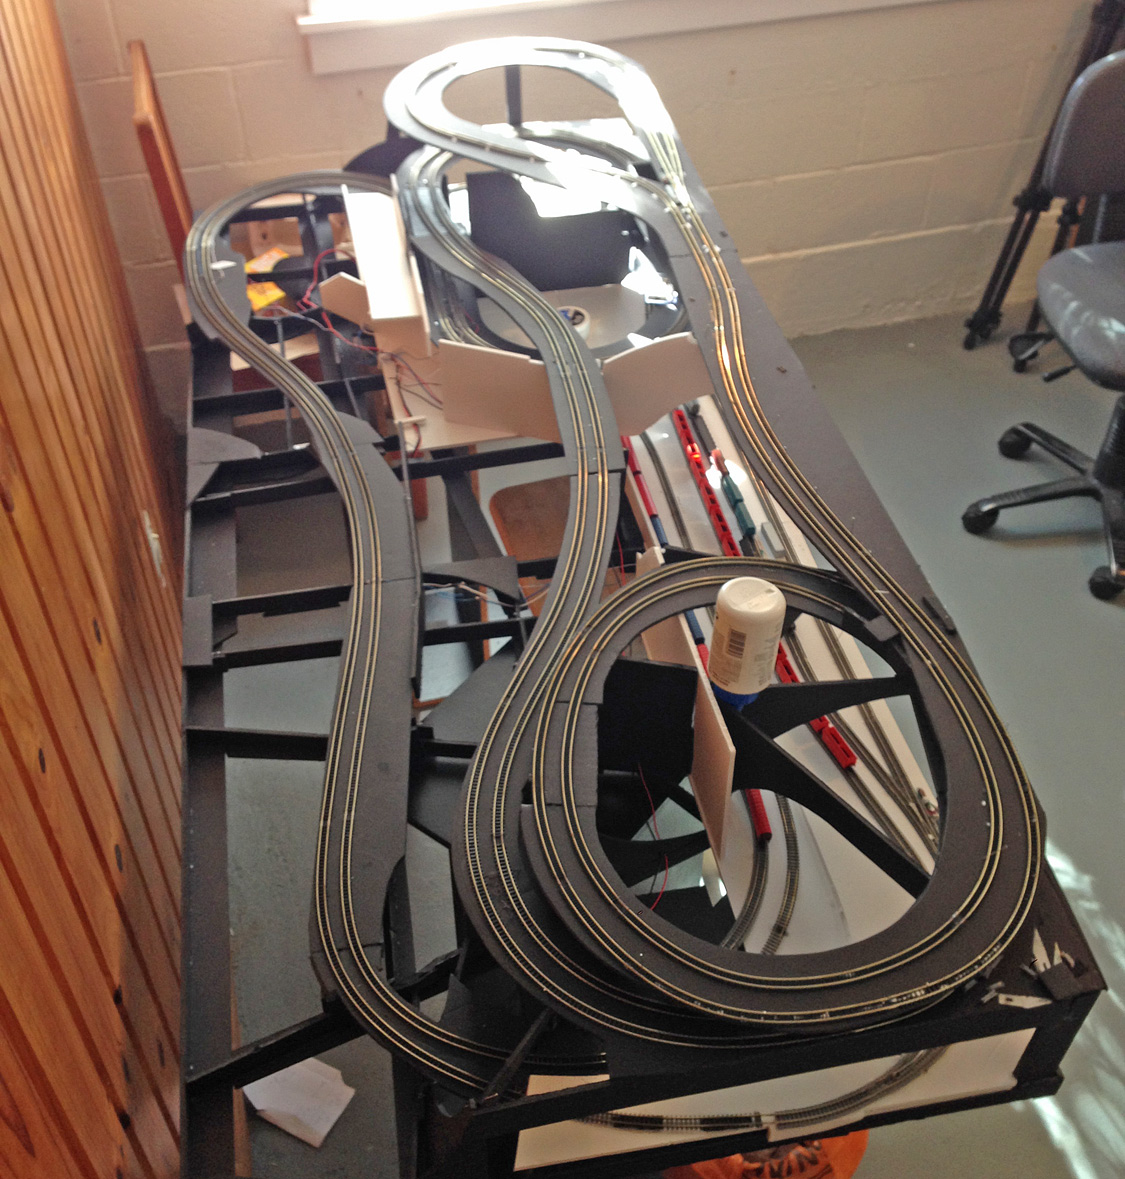
By my count (and I did run out of fingers at one stage), there will be 9 or 10 sections on the layout: two mainline tracks, 5 sidings or isolatable sections in the yard at the bottom, and two or three up top.

As you "saw" earlier (if you'll pardon the pun), I used a Dremel cut off wheel to cut gaps in the rails. (If I'd had some plastic insulating rail joiners I might have used those, but they don't always hold the track in perfect alignment.)

Until now, I have soldered the minimum number of wires onto tracks and hung them all together in a temporary fashion to be able to run a train around for testing purposes. Obviously that's only a partial short-term solution that had to be tackled at some stage.

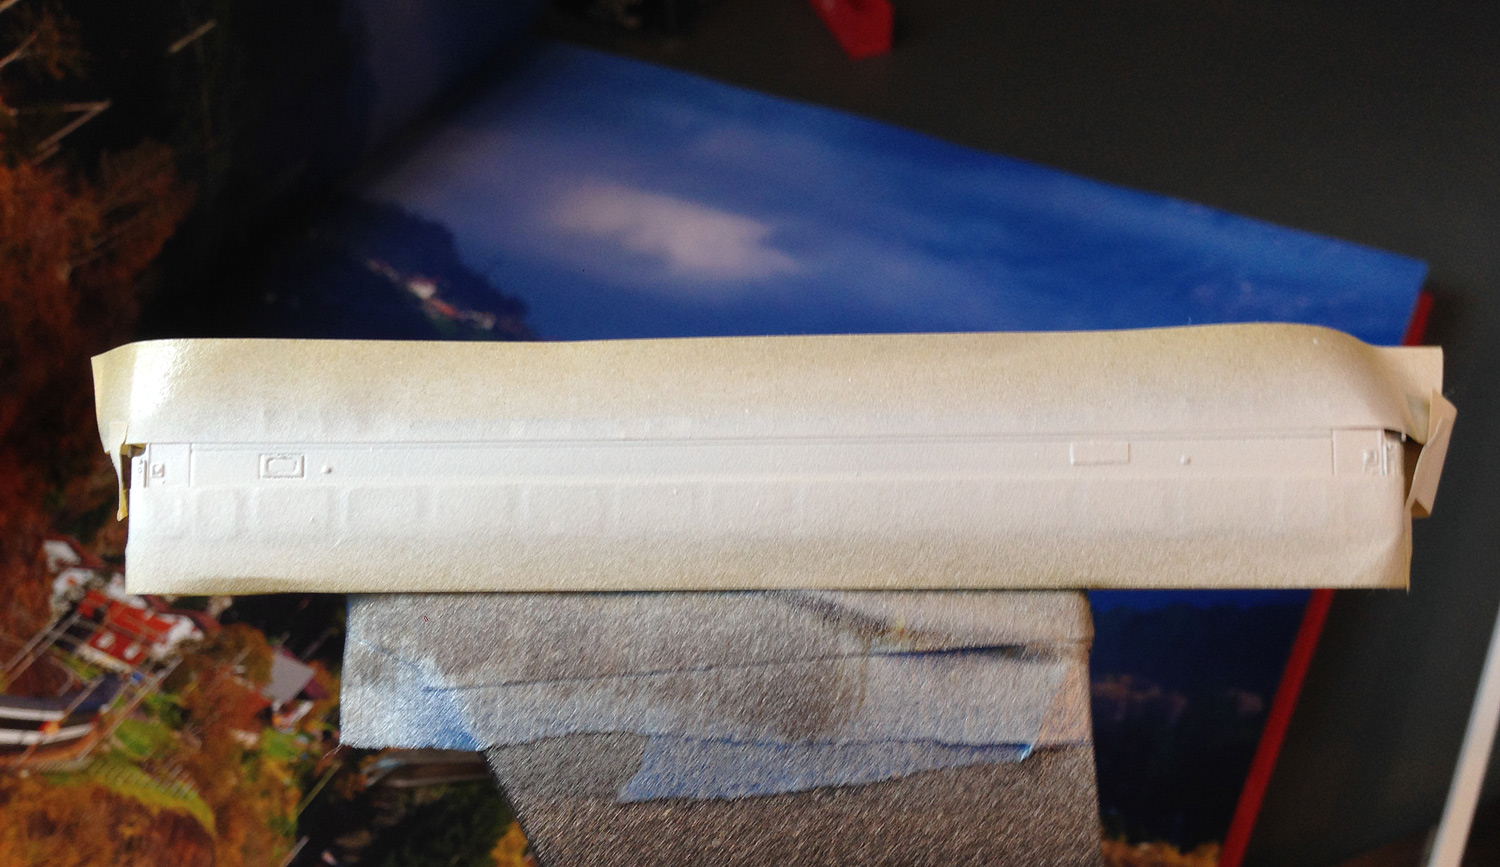
Today I decided to make this all a bit more kosher, wiring up all (ok, 'all but one') of the sidings:

...feeding all the wires properly through the baseboard (easy in foamboard!),


...and attaching them all to a tagboard so its a bit easier to understand and debug as required:

I've put the tagboard into a spot to the right-rear of the layout that is reasonably accessible, labeled it with a marker that you probably can't see here, and used different coloured wires where possible to make troubleshooting and adjustments easier.

Thursday, November 10, 2016

Over the Top

Since it's armistice day (Nov 11), it seems appropriate to steel myself to go over the top and embark on a final big push to the summit.

Lacking the necessary bits of track right now, I'm having to make do with foamboard to see what the path across no mans land looks like. Hopefully that will be resolved shortly and the rails will be able to take their first vertical steps in some months.

Tentative steps. Looking 'north'

From behind. Mug (NZMRG Porirua 1994!) for scale for the benefit of Am-Fet


Monday, November 7, 2016

How small is Z anyway?

While N scale certainly has a better selection of rolling stock, when I first hit on the idea of "Wassen on a door", for obvious reasons, Z was the only scale that was considered.

Why? Because it's small. Small-enough-to-fit-a-lot-of-track-on-a-door small.

Well it's supposed to be small. But when the first of my Z purchases was unboxed, they weren't as tiny as had been expected. The locos certainly don't get lost on your workbench, the track is workable, and as we've seen recently, you can even 'model' in Z.

So to respond to a recent question/comment/request - how small is it really?

Here's a side-by-side comparison that can be readily set up with models on hand - a Z scale Swiss Re 4/4 (1:220) vs an N scale North American Dash 9 (1:160) vs a New Zealand DC in NZ120 (TT 1:120).


Crikey. After having only played with Z this year and not seeing an N scale engine out in the wild for some time, Z suddenly seemed a lot smaller than I realised. Or probably more accurately, N seemed a lot bigger.

In comparing apples with motorcycles, it's fair to point out that a real General Electric Dash 9 is a lot wider, taller and longer than the other two locomotives, but empirically, it would seem that Z is indeed smaller than the others by quite a margin.

But its not tiny. That would be T gauge.

Sunday, November 6, 2016

A Desk, my Kingdom for a Desk...

The spate of recent rolling stock work can largely be attributed to the purchase of an old computer workstation and office chair from the Salvation Army charity shop. A modeling desk being an item that's been missing from my wardrobe for the past two years.

The desk had a slide-out keyboard tray which was cut down and re-installed to make a second shelf where the monitor used to go. On the right are slots for a CD library that will become more shelves for small projects in time. I suppose its fairly small, but that's entirely appropriate for the current Z scale projects. And it forces me to keep things tidy...

I also like being able to whizz around the room on my chair.

A further purchase - not yet installed - is a $4 old clamp-on bed headboard light that will be attached to the top shelf or beside the window to provide additional lumens when required.

Best $30 I've ever spent.

Friday, November 4, 2016

InterRegio 4 - on the run

While I had the cars apart for their makeover, the opportunity was taken to trip or remove the buffers that I thought might have been upsetting the cars on tight curves and causing derailments.

Seems to have done some good, as I ran these around a bit yesterday with no problems whatsoever.


Are they perfect? No of course not - neither my painting nor the Marklin canvases underneath.

...But they do capture the 'essence' of an InterRegio train; and my modeling philosophy has always been that a 'close enough' model will always look better in a bigger scene, which allows me to steam through these things relatively quickly rather than seeking absolute perfection - or never finishing anything before losing interest.

One day I'll make some decals. I promise. In the interim, as far as I'm concerned, without my glasses on and squinting from the other side of the room: This train looks the shiznit.

Thursday, November 3, 2016

InterRegio - 3

Things proceeded at pace during a few short visits to the trainroom today.

The first class car came apart and was processed in a similar fashion to the two 2nd class cars. There were subtle differences - there are no end steps so the masking tape covering the unders didn't have much to hold on to and the 'gotcha' at the end being that the 4 pieces of 'glass' window inserts went back in a specific order and not in any other way.

The Marklin Panorama car is a bit different in its construction. Rather than the roof coming off, the body comes off the chassis on these, and the main curved glass pops out from the outside:
Despte this, it was tackled in a similar way to the other cars.

The roof grey had to come down a bit more than on the existing livery so I scored a line down to the appropriate distance with a knife and hand-painted down to it with a similar shade of custom mixed grey.

The red patches on the ends are a bit bigger on this car so my painting with the $2 paints ended up a little more lumpy. I also went mad and hand painted the yellow strip on top of the red that signifies first class on the prototype. This worked out considerably better than expected so the same was also applied to the first class car.
 All in all, the train looks rather decent I reckon:

The real heros have been the black marker covering up the silver window frames and the acrylic paints - especially the Tamiya White. These are touch-dry in minutes so you can be on to another colour in no time, so my attacking of this passenger train was reminiscent of a bull loose in the proverbial china shop.

Just as a reminder, this is what they looked like a few days ago.

InterRegio - 2

Continuing on from yesterday, a little red paint was splashed around the ends and the messy overspray cleaned up in dark grey  - both hand-painted using my 2$ set of lumpy artists paints purchased from The Warehouse or some similar dollar-store.

The raised silver window frames were then drawn over using a marker:


And after reassembly, things were looking pretty sweet. The two modified cars are at the right compared to a stock car at left:
You can compare these to the prototype at the head of this blog. Close enough that a galloping racehorse wouldn't notice.

And from the Scary Closeups Department, modified car are at right compared to a stock car at left:

I'm impressed with the deletion of the silver windowframes but do need to make up some "SBB CFF FFS" decals for the sides.


Tuesday, November 1, 2016

InterRegio - 1

As you may recall, I picked up an SBB passenger car set recently.

The set is a car or two short of what I would ideally like to see on the layout, although a single loco will probably struggle to pull more than four cars up the hill anyway, so that's moot...

Other than this, the main concerns with the cars are that:

  • they don't run that well 
  • they're in an older paint scheme

Hopefully that the former will be sorted out by my ongoing remedial trackwork tweaks and some adjustments to the unders - I have a feeling that the couplers are catching the buffers on sharp curves on at least one of the cars. Another car 'drags' a bit - as if a wheelset or two is rubbing on something.

The livery issue I'll tackle now - buoyed by the illusion of recent successes on the Habbiins wagons by the 51st Airborne Paint Application Corps.

So looking at the as-delivered models vs the real thing (as provided by the VGB Gotthard book), we can see that:


  • The grey panel should be white (as should the bottom half of the doors). 
  • That silly grille amidships should be removed (its on one side of the models only).
  • The red should extend laterally over a little more than the door 
  • The silver window frames stand out like dogs knobs.
  • The strip amidships along the windows is a dark grey here. It should be black, but I'm hoping I can get away with what's here
  • The white strip up top should be a little taller too (down to the windows) but again, I'm hoping I can get away with it as-is
  • The model in the above pic is a first class car and has a thin yellow line above the windows. This should be painted out and replaced with some yellow in the red door patches that are barely visible on the prototype pic here on the last two cars of the train 

Second class cars disassembled:
 Masked up (note that I have also masked a tiny rectangle to retain that red SBB logo:
 Some paint was then applied. I used Humbrol gloss white. It was a disaster. Enamel whites often are -all creamy-coloured and thin so that they don't really cover anything with white at all - merely a whitey smokey sticky transparent colour. After some internet research, it seems acrylic flat white is the only way to go, so I headed downtown to procure the Tamiya production of same. Lo and behold: success, with a nice crisp arctic white coat over the grey:
Successful it seemed. But either my masking wasn't thorough enough, or more likely the thin runny Humbrol gloss soup seeped underneath, but I was left with a bit of a mess to clean up with a little overflow around the windows and to a lesser extent the unders:

In the next report,  a 2$ paint set will be deployed to step back from this cliff of messiness.

Sh*t Habbiins

Following on from the last post, a little weathering was applied to the Habbiins wagons in the hope of hiding any of the original artwork still showing through the dodgy airbrush work.

I don't have many proper model paints in sensible shades at the moment, so mixed up a variety of browny shades on a scrap of foamboard from some cheapie dollar-shop art paints, mixing various dollops of red, blue, yellow - with black and white seasoning to taste. The resulting mess was washed with some thinner and then drybrushed as appropriate.

I'm a bit out of practice, but the end result looks reasonable from the mandated minimum public viewing distance, which in Z scale must be about 2 metres.


I might yet break down and add a Transwaggon logo to the cleaner one at some stage.

Nice to have a couple of weathered wagons on the layout.