Sunday, February 10, 2019

Schoolhouse - 2

Today I continued in the same vein as yesterday, putting 'windows' in the sides and making up a rear wall for once (with no windows!)

The walls were stuck together and cross-wall-bits for the dormers added in the roof area as above.

Then came the tricky trial-and-error fabrication of the roof, which is made of the thin brick-embossed plasticard that is being a used a bit around here....


It's close, but not exactly to the design of the original. Don't look too closely....

With a little paint, and hidden a safe distance away among some trees, it looks a bit better (it's just sitting in there and hasn't been attached, so may not be located quite as straight and level as it will soon be). Then again, it may look worse after...


Overall this looks pretty good for a few hour's work. The scale looks ok, and, because it is grey all-over, it doesn't shout out at you to look at it, which is exactly what I'd hoped for.

Saturday, February 9, 2019

Schoolhouse - 1

I had no idea what this building's purpose really is at Wassen, but it's quite distinctive, quite grand, and looks like it could be the town offices and/or town hall. It turns out it is the Schoolhouse - thanks to the commenter who has corrected me here.


A few random shapes were cut out Metcalfe N scale stone sheets (this is a stonework pattern printed onto card) and these were tried on for size on the layout.

Windows were marked, re-marked, and re-re-marked on the backside at various angles resembling the parallel and perpendicular, such that my cutting pattern on the first-marked wall looked more like a tartan.... Pick a line to cut along... any line...

Pieces coming together in the four prep stages:
  • windows cut out 
  • backed with white card
  • 'windows' drawn in and sills marked with a mechanical pencil (and a ruler at times)
  • a start at some overlay and detail added around the entranceway


The most 'interesting' side with the 'grand entrance' door faces the church, but I'm going to spin it 90 degrees and have it facing the front of the layout. This side has some interesting 3D features - as you can see, it is three layers deep, compared to the sides which are flat. These layers are being modeled, albeit heavily compressed. The real thing has an unusually laid out window pattern on this main entrance side (almost implying that the floors are not level, but I decided to make them line up a little better, at least between the outside and middle levels. Some artistic license, mixed with laziness and a dash of forgetfulness being applied as required.

Levels stuck together:


The inset door is from an offcut from when I shortened my brown house at 'Upper Wassen'.

Tuesday, February 5, 2019

Forest Planting on the Hills of Wassen

The hills are alive, with the sound of... trees.  For something different, I decided to plant a shipment of trees that I received recently.

The good news: they look good.


The bad news: I thought the additional 200 trees would be enough to do both hills, but after planting 150 on the North/Erstfeld/right end of the layout today (on top of the hundred I already have growing in the Meienreuss gorge) it looks like I could easily use an additional hundred or more for the South/Goschenen/left end hill.  


The winner so far for forest volume: Heki HK0309 1½"-3" ECONOMY UNFLOCKED PINE MINI-FOREST/100 PKG

At around $25USD for 100 trees (cheaper if you wait for a sale), that's a reasonable deal even with shipping to these far flung isles. En-masse, they look quite effective, with the more detailed guys in the foreground.

Other items in use from the recent order which are decent:
  • Heki HK1432 2"- 4¾" UNFLOCKED PINE SET/50 Trees - same style of tree as the bulk pack, but some taller ones, and less-good value than the 100 pack... and in Z who needs the additional height anyway... so I took an inch off the bottom of many of the tallest ones and used the offcuts as filler in the forest.
  • Heki HK0306 2"-3½" SMALL PINE MINI-FOREST/30 PKG - a lighter colour, flocked so reasonably nice, but a bit obviously "spiral-wound" when viewed up close. They look ok.
  • Busch BH6469  1½"-3½" FIR TREE SET/25 TREES - nice looking small/dark/well-detailed fellows
  • And I'm almost out of my previous JTT and Noch trees too, but have enough of the 'good' trees left that I'll probably only need to order one more of the 100-pack economy unflocked jobbies to add bulk to the South hill.
Less impressive:

HK0301 1½"- 3" PINES & DECIDUOUS FOREST/ 40 TREES Heki 'Ready-Made Mini-Forest!'  There are some weird, oddly coloured  and blobby looking folks in here. Not vert 'to-scale and not recommended for Z scale. I'll use what I can and hide the rest or put them in my scenery box.


Saturday, February 2, 2019

My Kingdom for a Z scale Re 6/6 - part 3

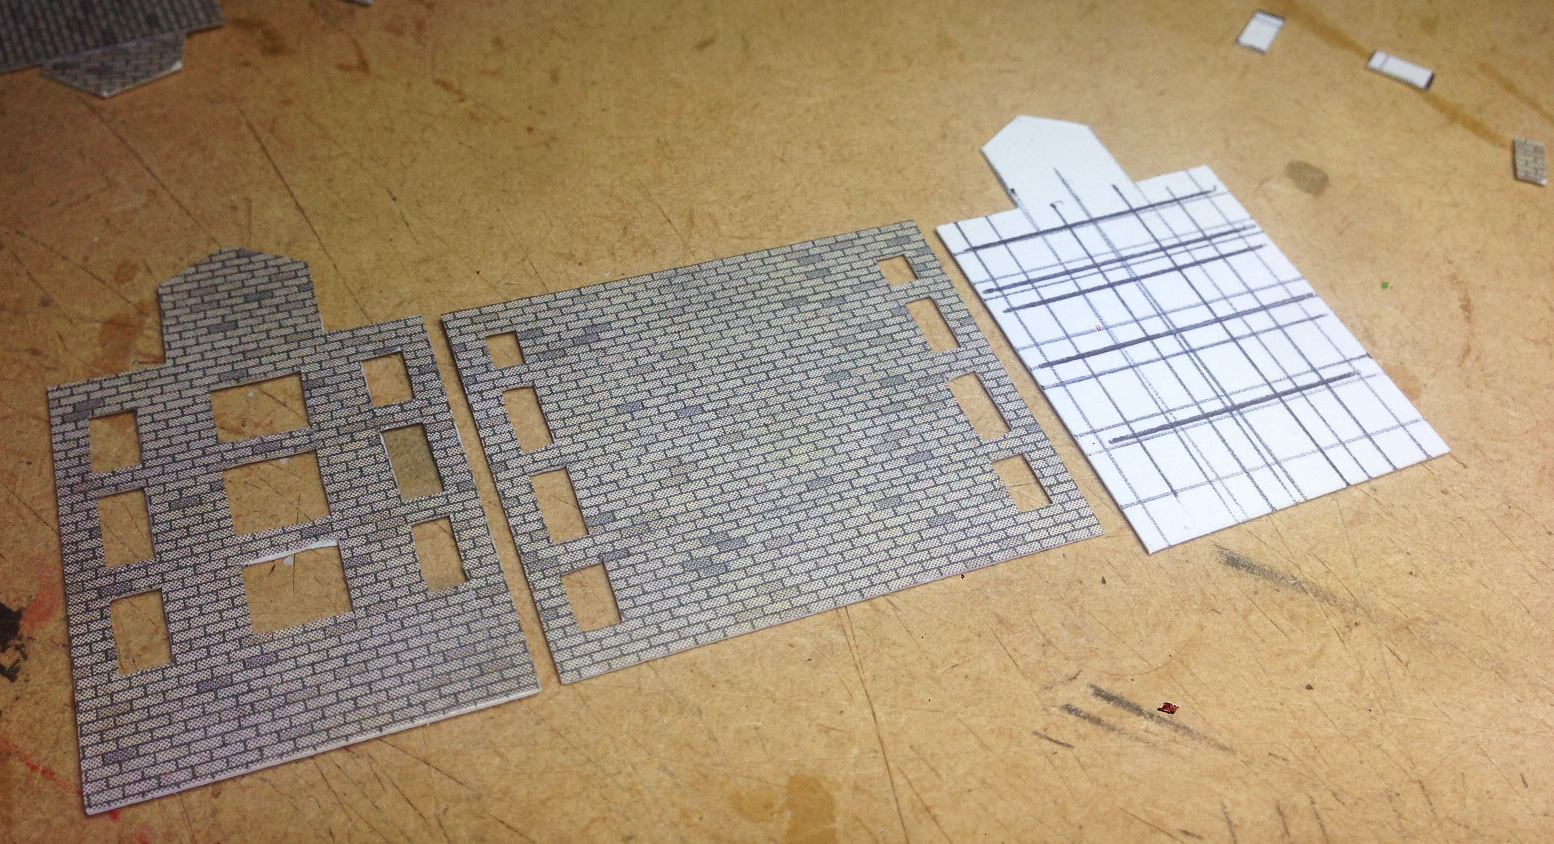
Where our hero discovers that when polishing up excrement, you eventually you realise that you're still left holding a piece of excrement...

The Re 6/6 story continued with the reinstallation of the end-slivers removed to make the shell thinner. The shell is looking reasonable now, although the slightly protruding foreheads are starting to annoy me. It looks acceptable from a distance though. 

Feet were provided by a passing Rokuhan bo-bo-bo chassis - which is a gorgeous piece of engineering compared to the rough guts of its Marklin 4/4 brother:


The chassis underbits were painted black, and with some trimming, the shell fits nicely on top. 

Even without any detailing of the stock Rokuhan chassis and it's short-wheelbase bogies, it doesn't look completely terrible except in these closeups.  I can add some air tanks between the bogies and some clutter to fill those air gaps out, and with everything painted black, hopefully the small bogies won't be too noticeable.


Other than this detailing and some shell-finishing, the Re 6/6 story will probably pause here for a while as there are a few issues to be resolved before continuing onwards: 

1. The Rokuhan chassis comes with a very tidy wee version of the 'Rapido' coupler that used to be the old N scale standard back in the dark ages. Obviously this isn't going to mate with a hideously big Marklin chunky coupler, but there are a few options...
  • Rohukan sells a Marklin coupler that will slot in. 
  • I could probably glue one-onto-tuther myself.
  • I could make a close-coupling solid drawbar between the locos (perhaps not a bad idea)
It's also chassis mounted (the 4/4's is bogie mounted) so some testing will have to occur on Wassen's tight curves - both between locos that could surge, and also between locos and the light wagons on a train that could be thrown off on a curve by a long, outswinging Re 6/6 chassis.


2. The Rokuhan chassis is considerably smoother, quieter and (unfortunately) faster than the Marklin, so it might need to be slowed down (with diodes perhaps)....  Or, more radically, I could buy a 4 wheeler Rokuhan chassis and put it under the 4/4. This way I wouldn't have to worry about the coupler issue between the locos. The old Marklin 4/4 chassis could be used later on to make a BLS brown 4/4.... Decisions, decisions.