As mentioned in my previous rant, I suspected bogie-swivel problems due to HOS cause the periodic Re 4/4 derailments I get around Wassen. And always have - since I started in Z scale a year or more ago.
Somewhat pleasingly, and more surprisingly, I've been able to cure the swivel/sticking and derailments in one foul swoop. And it's not HOS after all!
But Marklin isn't off the hook just yet.........
To back up, there have always been half a dozen spots where there have been occasional derailments with my SBB red Re 4/4s. Most of my early videos end
exactly where they do because in the next frame an engine derails followed by me swearing.
I had begun to accept that tolerances in Z were so tight and the locos just not flexible enough to rollercoaster over my badly laid track (from three manufacturers) on its undulating (and flexing!) foamboard substructure. I feared a future of constantly tweaking track and turnouts with a growing fleet of blacklisted locos and wagons.
A few nights ago you may recall that my suspicions as to a possible cause of these derailments were aroused by the discovery that the bogies on some of my 4/4s get 'stuck' in the metal chassis while swivelling around curves.
My hypotheses was that depending on how the loco was tracking at a particular moment (whether pulling a load uphill or not, whether being pushed or pulled at that moment by a loco in front or behind, whether running fast or slow) a bogie might just 'stick' in a tight curve.
This stuck bogie - not being able to swivel further or back into line -
might derail the loco immediately, BUT, it might also merely pop one wheel off the rails which will ride along outside the rail in that stuck position for a while until it was forced off by the next turnout or curve. I've observed that 'riding outside' on the layout before, but always assumed it was all due to my bad trackwork.
I seem to have proven that the stickiness was actually the cause of all of this by eliminating it - the fix was stumbled upon while poking and prodding around inside a disassembled loco - initially to see if the pins that hold the bogie in were sticking due to machining errors or HOS.
The breakthrough discovery was that the 'sticking' only happens when the bogies are twisted towards the end of their travel when swivelled
clockwise (as viewed from below).
(or counter-clockwise if viewed from above). They don't stick when swivelled to the extremes in the other direction.
After some disassembly (I pulled the pin out) - it turned out that the sticking happens whether the pin is in or out, so that pin is clearly not the problem.
Hmmmm...
After some further examination, it appeared - to the imps in my head - that there was either some wear, or perhaps a slight design/casting glitch in a small off-centerline area on the main plastic bogie casting towards its top - the big round plug that mates into the hole in the main metal chassis frame - the two areas circled below - note they are off-centreline:
This is at both ends of the bogie frame (about 10:30 and 4:30 positions - if the coupler is held at 12:00 or 06:00 seen from above)
This glitch reminded me of flash on a mold join, but it didn't look like that at all. But something just looked a little suspect to my eyes.
I decided there was nothing to lose by trimming a sliver of plastic off that imaginary ridge, and making sure I cut in at the bottom to remove it completely - so there isn't any semi-attached material remaining that could bind in gears later. Be especially careful not to cut or bend the thin brass electrical pickups.
After reassembly, I couldn't believe it... the bogie swivelled freely in both directions!!!
I performed surgery on the other bogie, and then on the four bogies on the other two sticking locos. Magic!
Tonight, for the first time, I was able to run my passenger train, behind two Re 4/4s endlessly around Wassen - up and down for about fifteen minutes - with not a single derailment.
What a great feeling!
There is nothing more frustrating than playing model trains with model trains that don't work well. And what a relief that this somewhat expensive experiment in Z scale hasn't turned into a gigantic white elephant.
Speedy Gonzales
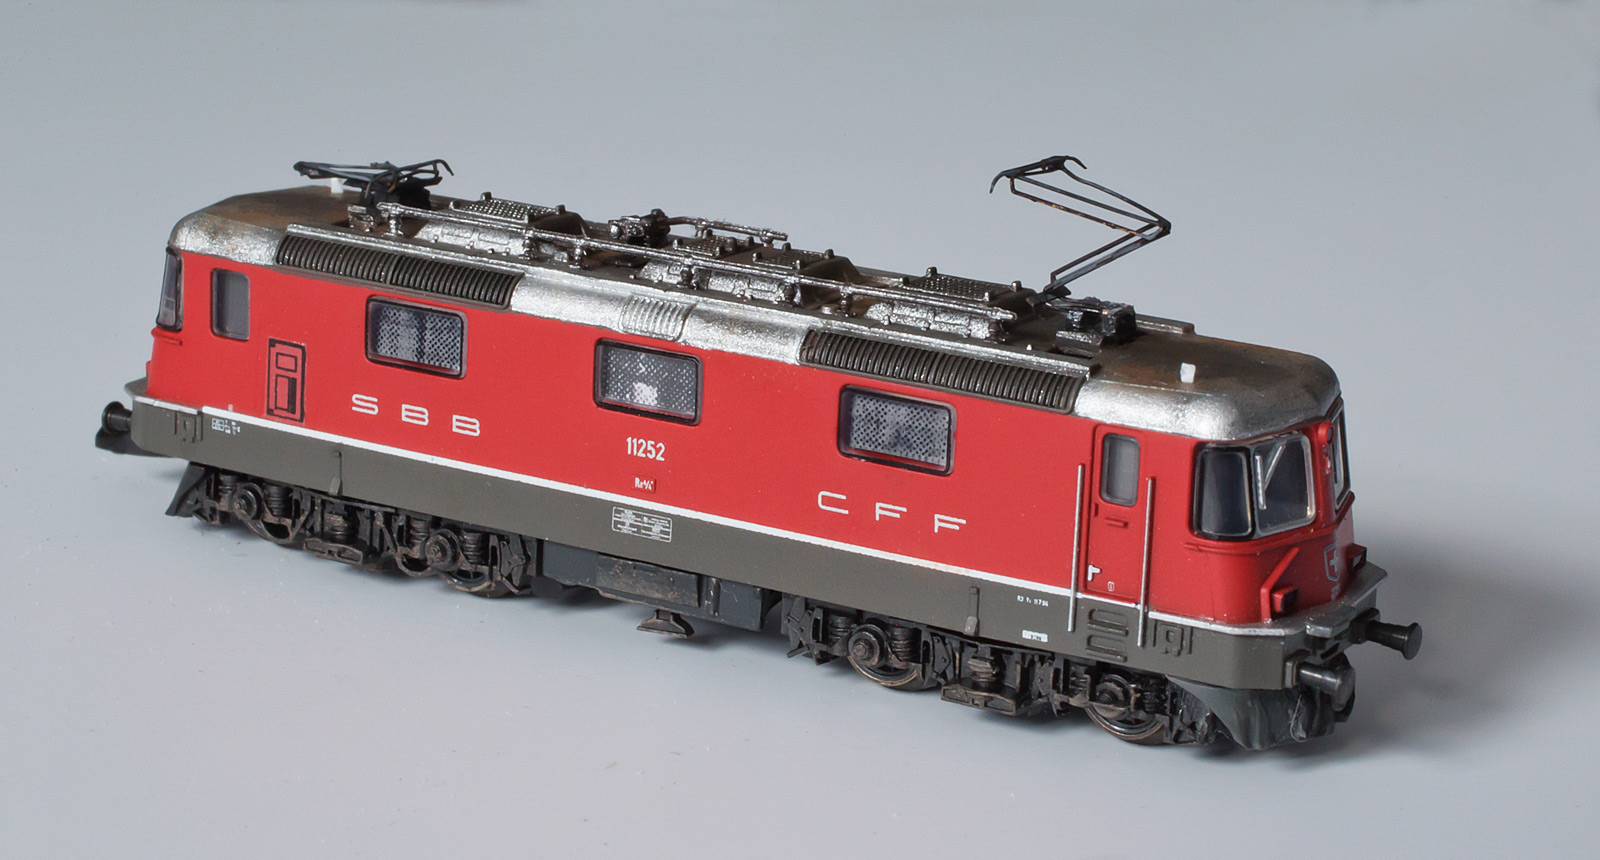
Footnote: as stated a few days ago, I have had these derailments due to swivel-sticking issues with three out of five Re 4/4ii locos. I have four SBB red ones (Marklin 88591) and one blue SBB Cargo model (88592). I don't know if all the stuck ones were red as I may have swapped bodies across chassis. I may have just gotten a bad batch. I have never seen a green 4/4 (88590).
I assume that these plastic bogie parts and metal main chassis castings are shared amongst many, many other Marklin 'short' electric and diesel locos; with prototype-specific cosmetic bogie sideframes and tops. It would be interesting to see if this is an isolated issue or common across the many Marklin models that presumably share these parts.